
Setting Up the Integration
In the CX-Engine application, go to the Integrations menu. The page displays all currently connected integrations along with their associated API keys. To connect a new CRM, click the Add Integration button, select the integration corresponding to your CRM, choose the desired authentication method, and fill in the corresponding parameters (URL, username, password, etc.). The specific requirements for each integration are listed further down this page.
Once connected, the integration appears in the list with its API key visible. You can then configure it from the CRM Connector > Settings menu.
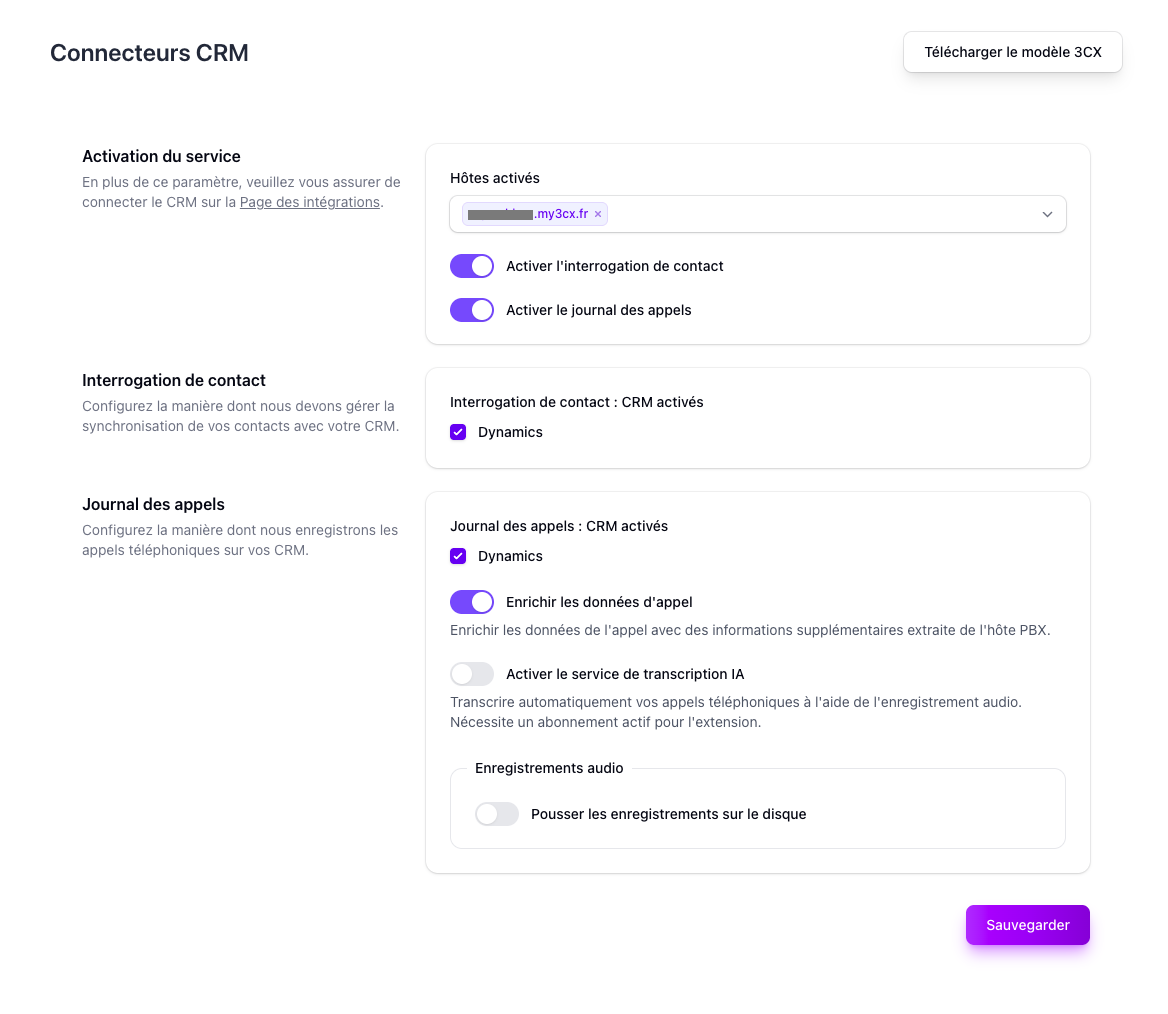
In the Settings menu, features such as contact lookup and call logging are configured in two steps:
- Enable the feature at the general level by toggling it on
- Under each enabled feature, check the desired integrations to activate it for
If one or more PBXs are associated with the account, you can also enable call data enrichment. This allows retrieval of information not transmitted by the native IPBX CRM integration — for example, the direct line dialed by the contact, call segments, audio recordings, etc.
Integration-Specific Setup
Business Central (via Dynamics 365)
Prerequisites
Before proceeding with the configuration, make sure you have the following information provided by Business Central:
- The API URL of your instance, for example
https://api.businesscentral.dynamics.com/v2.0/{tenant-id}/Dev/ODataV4/Company('CX-Engine') - The
client_id/client_secretpair for authentication
Enabling the Integration
In the CX-Engine application's "Integrations" menu, click Add Integration and select Dynamics 365.
In the popup window, enter the following values:
- API Key Type: OAuth 2.0 Client Credentials
- API URL: Enter the base API URL:
https://api.businesscentral.dynamics.com - Client ID: Enter your
client_id - Client Secret: Enter your
client_secret - Tenant ID: Enter the company name from
Company(), without quotes — for exampleCX-Engine - Scope: Enter the portion just before
ODataV4— for exampleDev

In the CRM Connector > Settings menu, click Configure on the Dynamics 365 integration, then select the Dynamics 365 Business Central variation. In the table lookup order, add a section for the built-in Contacts table.
Loji (by Neoteem)
Prerequisites
Before proceeding with the configuration, make sure the call logging module is enabled on your Loji instance. You will need the following information provided by Neoteem:
- The URL and port of the Loji instance
- The username / password pair for authentication
Enabling the Integration
In the CX-Engine application's "Integrations" menu, click Add Integration and select Neoteem.
In the popup window, enter the following values:
- API Key Type: Basic Auth
- API URL: Enter the base API URL and port of your instance, for example
https://voip.neotimm.com:123 - Username / Password: Enter the values provided by Neoteem